Updated Oct 26, 2026
Why build a home haunt?
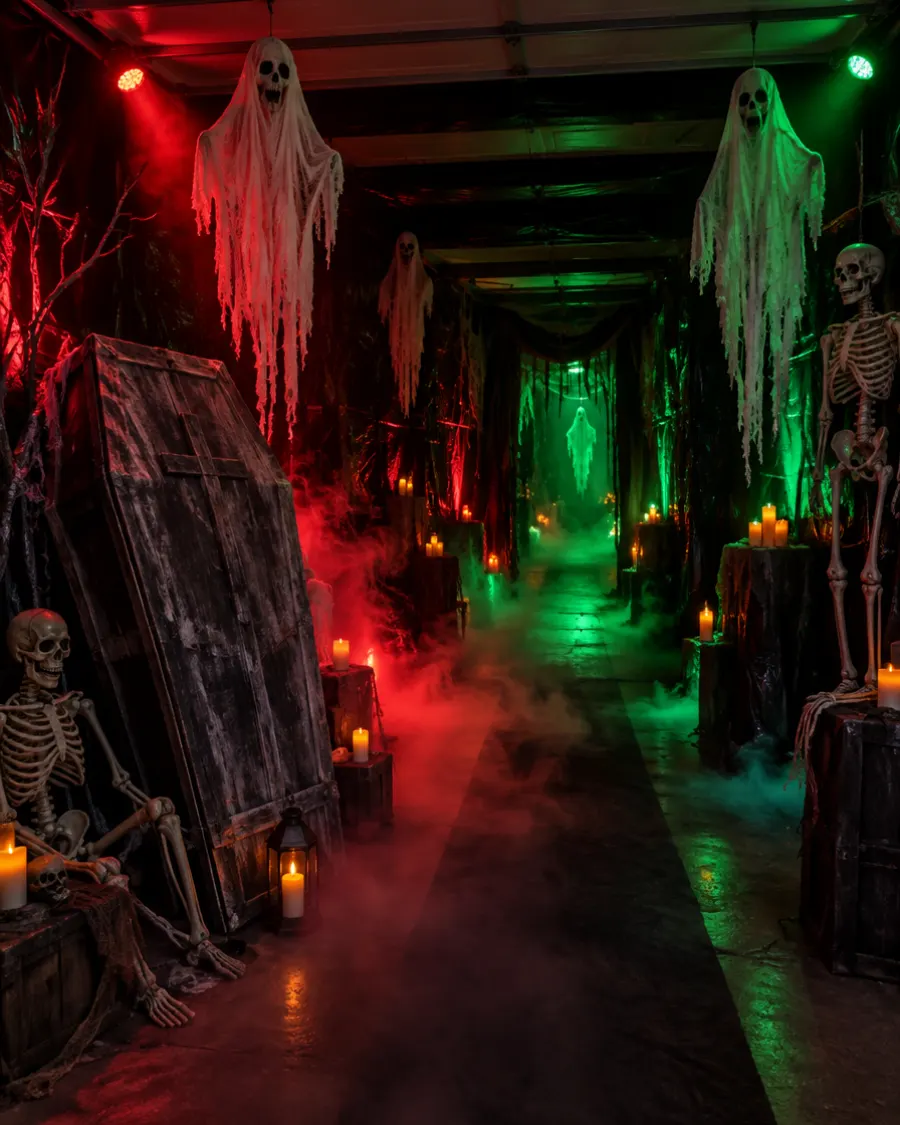
A home haunted house turns your garage, basement, porch or backyard into the most talked-about stop on the block. You do not need a big budget. Darkness, sound and a few well-timed surprises do most of the work — the visitor’s imagination fills in the rest.
Start planning two to four weeks ahead. That gives you time to gather cardboard, collect thrift-store finds, test your lights and recruit helpers. This guide walks you through the whole process, from floor plan to final walkthrough.
Pick a space and plan the route
Garages are the most popular choice: they are easy to darken, have a large opening for an entrance and keep the mess out of your house. Basements, covered porches, side yards and backyards with a tent or canopy also work.
- 1Sketch a floor planDraw your space on paper. Mark the entrance, the exit and any doors, water heaters, tools or shelves that must stay blocked off.
- 2Make a one-way pathA winding path makes a small room feel big. Use a zigzag or “S” shape so guests cannot see what is coming next.
- 3Divide it into scenesThree to five small rooms or zones is plenty: for example, a creepy entry hall, a mad scientist lab, a graveyard and a final scare.
- 4Build walls cheaplyBlack plastic sheeting, old bedsheets, cardboard panels or fabric hung from rope or PVC frames create corridors fast.
- 5Keep it wide enoughLeave a path at least about 3 feet wide so groups, parents holding hands and wheelchairs or strollers can pass.
Pick a theme to tie the scenes together — an abandoned hospital, a haunted carnival, a witch’s cottage or a zombie outbreak. A theme helps you choose props, music and costumes, and makes the whole experience feel planned.
Choose your scare level: kids vs. adults
The biggest mistake home haunters make is building one experience for everyone. A 5-year-old and a 25-year-old want very different things. Consider offering different modes at different times.
- Level 1 — Friendly (ages 3–7): lights on low instead of off, silly music, no jump scares, no masks that come close. Characters wave and give out candy.
- Level 2 — Spooky (ages 8–12): dim lighting, creepy sounds and a couple of mild surprises, like a skeleton that moves or a curtain that flutters. Actors keep their distance.
- Level 3 — Scary (teens and adults): darker rooms, strobe effects, loud sounds and actors who jump out. Still no touching.
A simple trick: run the friendly version early in the evening while little kids are out, then switch to “full scare” after dark for teens and grown-ups. Post the times on a sign out front.
Always offer an easy way out. Agree on a “safe word” or simple signal — like saying “lights on” — that makes actors stop immediately and walks the guest to the exit.
Advertisement
Lighting and sound: your cheapest scares
Lighting controls what guests can see — and what they cannot. Total darkness is confusing and unsafe; dim, colored light is much more effective.
- Use colored LED bulbs: green for labs and swamps, red for horror scenes, blue for cold, ghostly rooms.
- Light from below or the side to throw long shadows and make faces look eerie.
- A flickering LED or a strobe light makes ordinary props look like they are moving. Post a warning sign if you use strobes, since they can affect people with photosensitive conditions.
- Black lights make white and neon paint glow — great for skeleton outlines and spooky messages.
- Battery-operated string lights and flameless candles are safer than real flames.
Sound may be even more important than props. A small Bluetooth speaker hidden in each scene can play its own track: dripping water, creaking doors, heartbeats, distant screams or a music box. Ambient sound covers your actors’ movements and builds tension. A sudden loud noise is one of the simplest, cheapest jump scares there is.
A fog machine adds atmosphere, but use it in a well-ventilated space, keep it away from smoke detectors you need, and warn guests who have asthma.
Cheap DIY props that work
- Cheesecloth ghosts: drape cheesecloth over a balloon or foam head, stiffen it with fabric stiffener or watered-down glue, then remove the form and hang the ghost on fishing line.
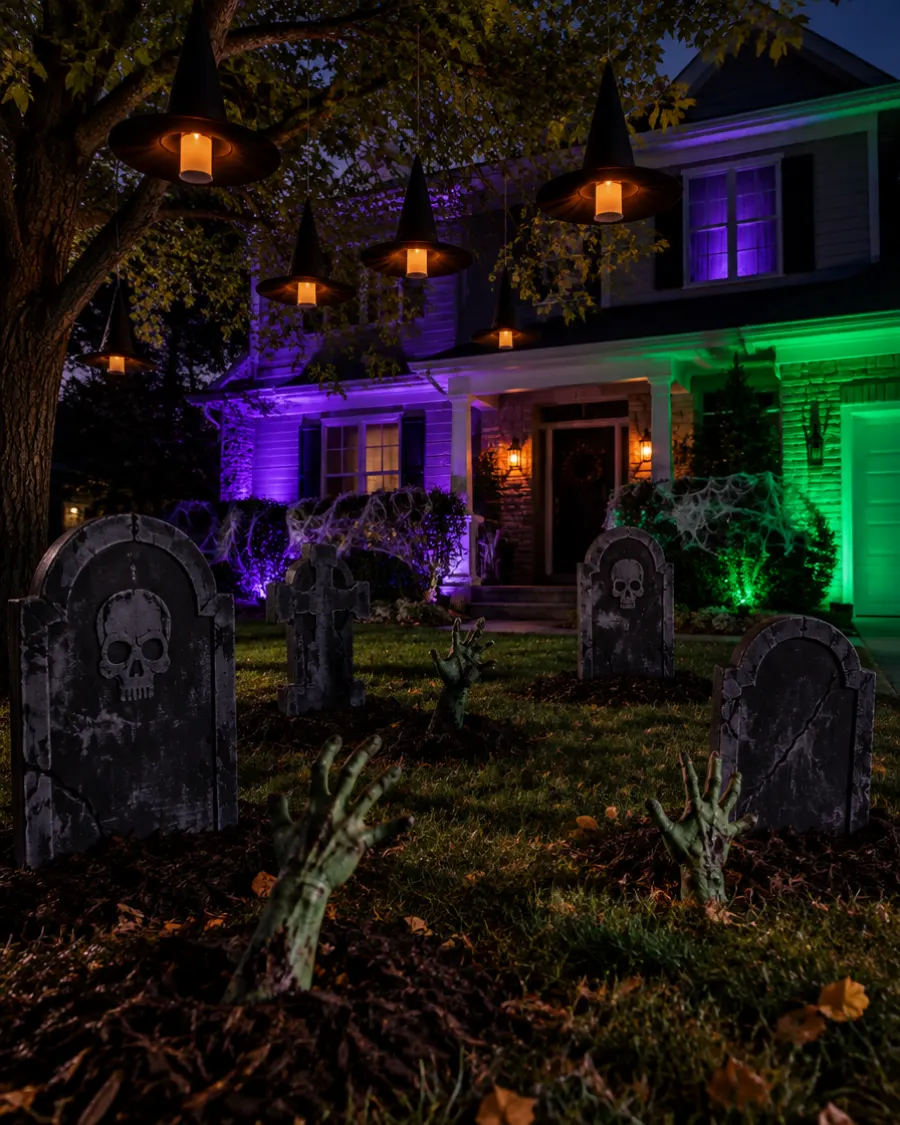
- Cardboard tombstones: cut shapes from boxes or foam insulation board, paint them gray and add moss or dirt texture with a sponge.
- Hanging “spirits”: torn white fabric strips hung from the ceiling brush against faces in the dark — cheap and surprisingly effective.
- Thrift-store finds: old picture frames, dolls, lamps, jars and furniture can be painted, aged or “dirtied” to look abandoned.
- Mad scientist jars: fill clear jars with water, a drop of food coloring and plastic toys or peeled grapes for a gross specimen shelf.
- Fake cobwebs and plastic spiders fill corners fast. See more in our decorations guide.
- “Touch boxes”: a box with a hand-sized hole holding cold spaghetti (“worms”), peeled grapes (“eyeballs”) or a wet sponge. Label what is inside after guests guess.
- A mirror scare: an old mirror with a dim light behind a hidden actor, so a face appears when the light flicks on.
Tips for actors and helpers
- 1Assign rolesYou need at least one greeter at the entrance, one person at the exit and actors in the main scenes. Nobody should work alone in the dark without a way to call for help.
- 2Never touch guestsScare with sound, movement and surprise — never grab, chase out of the haunt or block the exit. Make this a firm rule.
- 3Read the roomIf a child is crying or an adult looks truly panicked, drop character, speak kindly and help them out.
- 4Use the “distraction” trickDraw attention to one side with a sound or prop, then have the actor appear from the other side.
- 5Wear safe costumesActors move in low light, so masks must allow clear vision and costumes should not drag on the floor.
- 6Take breaksScaring is tiring. Rotate actors, keep water nearby and give everyone a snack break.
Our costume guide has easy ideas for zombies, ghosts, scarecrows and other classic haunt characters.
Safety first: exits, fire and trip hazards
A home haunt is only fun if everyone goes home safe. Walk through the entire route with the lights on — and again with them off — before your first guest arrives.
- Clear exits: keep at least one emergency exit unlocked and unblocked, and make sure every helper knows where it is. Keep the main garage door partly open or easy to open if possible.
- Fire safety: no real candles or open flames. Keep fabric, paper and fake cobwebs away from hot bulbs, heaters and fog machines. Have a working fire extinguisher at the exit and do not block smoke detectors.
- Electrical safety: use outdoor-rated extension cords outside, do not overload outlets and tape down or cover cords so nobody trips.
- Trip hazards: keep floors flat and clear. Avoid steps inside the route; if you cannot, light them and mark the edges with glow tape.
- Secure tall props so they cannot tip over if bumped.
- Health warnings: post a sign about strobe lights, fog and loud noises, and suggest that people with heart conditions, seizures or pregnancy skip the scary version.
- Group size: send small groups through one at a time so the route never gets crowded.
- Check local rules: if you plan a large event or charge admission, your city or HOA may have rules; ask first.
A simple build timeline and opening-night checklist
- 13–4 weeks outChoose a theme and space, sketch the route, and start collecting cardboard, sheets and thrift-store props.
- 22 weeks outBuild props and wall panels. Recruit actors and helpers and decide who plays which scene.
- 31 week outPut up the walls, run cords, install lights and speakers, and do a first walk-through with the lights on.
- 42–3 days outHold a dress rehearsal with a friendly test group. Fix tight spots, loose cords and props that tip.
- 5Opening nightTest every light and speaker, check the fire extinguisher and exits, set out the warning sign and candy, and brief your team on the stop signal.
Don’t forget the line. If your haunt gets popular, guests will wait outside. Keep them entertained with spooky music, a “gatekeeper” character telling the backstory, glowing jack-o’-lanterns and a candy bowl. A short story told at the door — “the family who lived here vanished last October…” — sets up every scare inside.
When the night ends, take photos of each scene before you tear down. Store reusable props labeled by scene, and next year’s haunt will go up in half the time.
A not-so-scary haunted house for little kids
Preschoolers love the idea of a haunted house but can be frightened by the real thing. Make a gentle version they can enjoy again and again:
- Keep the lights on (or use bright colored lights) and play upbeat Halloween songs.
- Use friendly characters: smiling pumpkins, cartoon ghosts, a silly witch or a dancing skeleton.
- Turn it into a treasure hunt — kids search each “room” for stickers or a hidden candy pumpkin.
- Let kids peek inside before going in, and let a parent walk with them.
- Have actors take off masks and say hello if a child seems nervous.
- Add sensory fun without fear: bubble machines, glow sticks, a “spider web” of yarn to crawl through.
- End with a reward: a treat bag, a photo booth or a craft table.
A gentle haunt pairs perfectly with a family Halloween party, and older kids can graduate to the scarier version next year. Looking for professional haunts instead? Browse our Halloween events guide.
Frequently asked questions
How do I make a haunted house in my garage?
Plan a winding one-way path with black plastic sheeting or sheets as walls, split it into three to five themed scenes, use dim colored lights and hidden speakers for sound, and add cheap props. Keep exits clear and never use open flames.
How long does it take to build a DIY haunted house?
Plan two to four weeks ahead to gather materials and props. Building the walls and scenes usually takes a weekend or a few evenings, plus time to test lights, sound and safety.
How do I make a haunted house less scary for kids?
Keep the lights on or bright, play cheerful music, use friendly characters with no masks or jump scares, and turn the walk-through into a treasure hunt with a treat at the end.
What are the most important haunted house safety rules?
Keep an unlocked emergency exit, use no open flames, keep fabrics away from hot lights, tape down cords, remove trip hazards, have a fire extinguisher and make sure actors never touch guests.
Advertisement